Did my research regarding the American Long Rifle and settled on the top of the line Jim Chambers Lancaster. Partly because he offers a workshop too.

I am a devoted "workshop" person, I like to take one per year, and just a note you need to decide about a year in advance cause the good ones (no matter the subject) fill up as soon as they are offered.
I have already decided on next years WS.

I have no experience with reproduction vintage rifles or rifle making however I have worked in all these materials and am confident I came make something passable.
Unlike the shoe making workshops we had a dozen participants and 3 instructors plus Jim. Someone from every walk of life, Doctors, Lawyers, Ranchers, Contractors, and (Me) an Artist.
Guns have always had an esthetic side and the Long rifle is no exception. The American Long Rifle is like Jazz and the Clipper ship; a true American invention. I won't give the history here but it is an excellent story of innovation worth a casual google.


The full length stock was mostly a style choice of the era; the wood in the forward area is so thin that it must be thought of as a cover or sheathing, it adds no structure to the rifle.


To refine the Fit and Finish: "fit, chisel, scrape" "fit, chisel, scrape" "fit, chisel, scrape" "fit, chisel, scrape" as required.

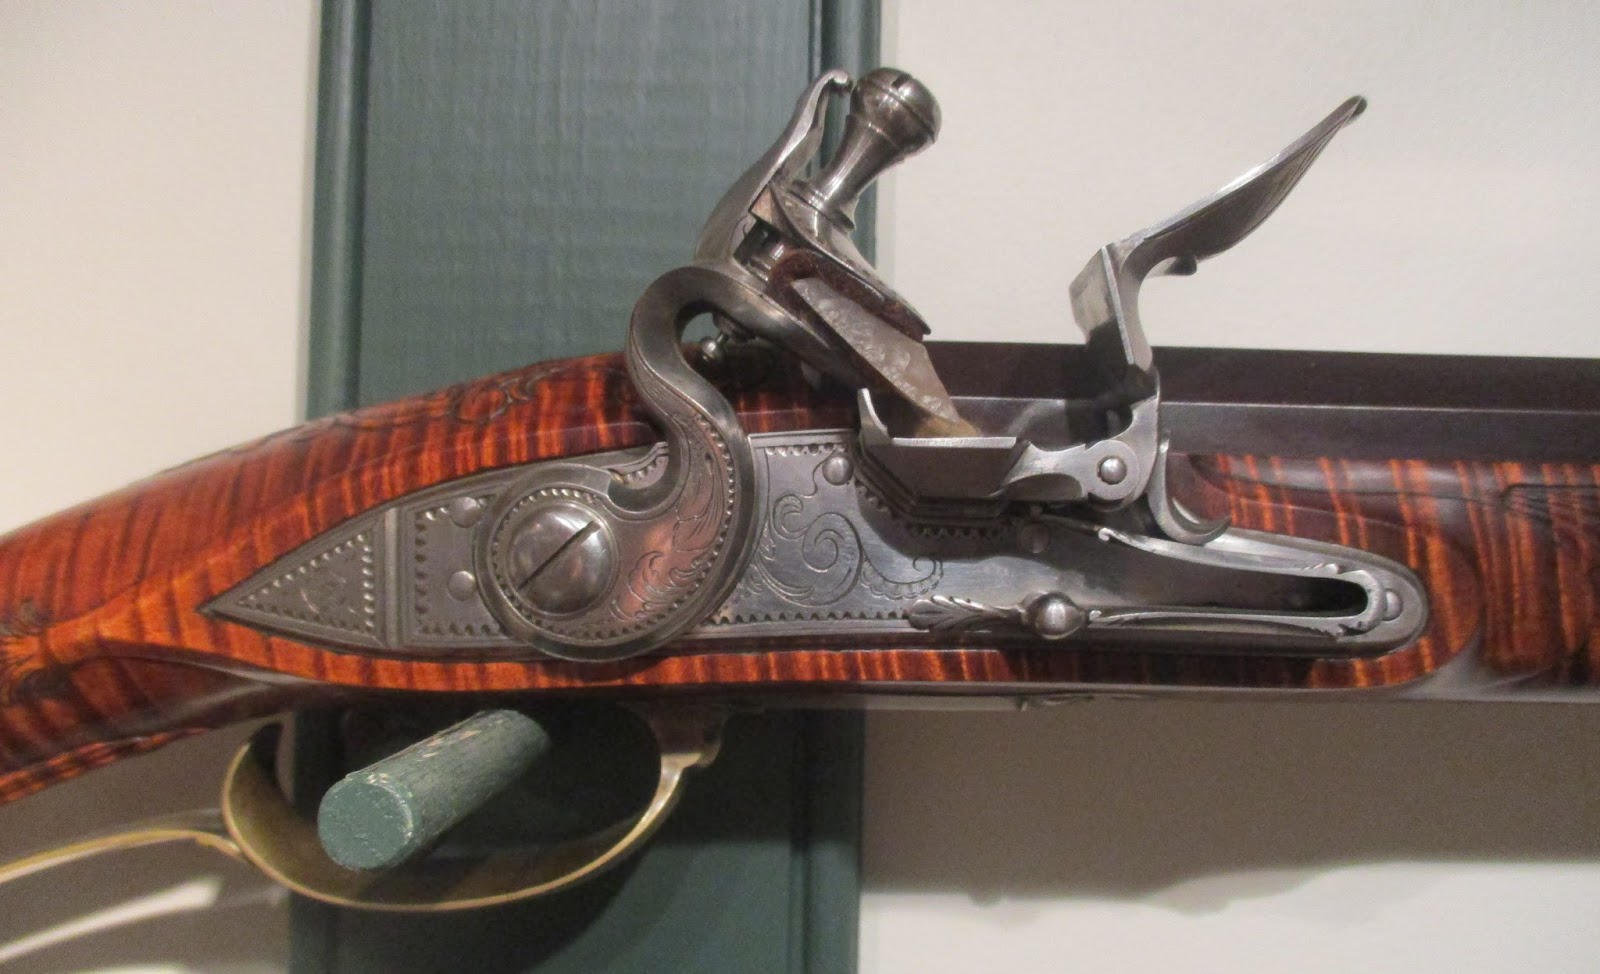
Final assembly with all fasteners. "You don't need a workshop to learn how to use a chisel do you?" Well no but there are several things that would take while to figure out. The three screws that you see in this pic. are drilled "in-situ" freehand (with a hand drill.) There are some drill press operations but not these. Some important reasons for the workshop are the gaining of an understanding in what is expected and getting an understanding of what-is and is-not important.
When complete you have a cross hatching of long fasteners that clamp the stock between the upper and lower, and left and right metal parts.


A long way from complete.
_____________________________________________________________________________