Saturday, July 30, 2016

Building the Jim Chambers Lancaster Flintlock: Engraving Turn Table

Another thing I didn't understand is the engraving issue; for a fist timer engraving can be kept to a minimum but I don't want to do nothing so I guess I have to do some learning.

I have been looking into what the minimum engraving kit might look like to minimize the initial costs.

Thinking about making my own rotary vice I realized that I had the raw materials on hand to make a rotary table.

Strangely enough I came across this super precision turntable at an estate sale last year and for $5 simply couldn't resist it.
As for the bearing I new I had save a clutch throw-out bearing from maybe 40 years ago and located that.
Ultimately the advantage I saw in this design is that the TT is very heavy solid, the taped holes will allow mounting of anything.

Not a rotating vice but...
It spins freely or can be locked with a set screw.

Not bad for a low cost TT.


Sunday, June 12, 2016

Building the Jim Chambers Lancaster Flintlock: Brass Patch Box Design

This is the fun part, however, after reviewing hundreds of pictures and needing to stay within the Lancaster genre, I needed to have a scale blank sheet of paper to sketch on.

1st I needed an "edge tracer" so that had to be made.
I went with a 20 degree angle for a standard round pencil.
It is best to use wood so with a grinder you can tune the block into dropping the line straight down.
Make sure to add a grid of known dimension to the paper.
I traced both sides, once with the trigger guard, and once without.


Building the Jim Chambers Lancaster Flintlock: Fit Ram Rod

The ram rod is 0.375" dia. and so is the RR tubes bore.

As annoying as this is it puts the maker into a similar predicament as the early makers.

I created a scraper for the purpose of reducing the dia. of the shaft by drilling into a piece of 0.060" mild steel and counter sinking it, the countersink creates a sharp edge.

0.125" hot rolled steel would be more robust.

It takes a while to get the whole piece scraped, I used one of the tubes as a "Go"gauge. The scraping process resuts in a slightly irregular final shape which I think will add to authenticity.
Ultimately the breech end had some sticking point that was difficult to work out but eventually I got it.
I am going to make a steel tube version for use and keep this one for show.


Friday, June 10, 2016

Building the Jim Chambers Lancaster Flintlock: Inlet Trigger guard and Ram rod tubes

The trigger guard is very time consuming; it has a 100 ways to be off. The casting has to be bent back into alignment which is fairly easy with soft brass.

First I undercut and curved the two areas to be inlet.
I chose to pin both ends.
Took a break from making to set up my chisel collection,I have never done a lot of small scale carving so I pulled a piece of scrap wood and set this up.
After inletting the RR loops I needed a drill fixture to get the height correct. I made some measurements and decided that the center of the tab (down from the top line) on the tubes was 0.55" for two of them and 0.62" for the rearmost. 
I took a piece of rect. alum. extrusion and put the two different heights on it.
I screwed up the 1st two holes by not compensating for the 0.125" wall thickness of the ext. so just re-drilled the holes further back. The single clamp holds both the tube and fixture in place.
Next time I will go with thicker wall alum. ext.
Everything pined in place.

I have been trying to get to this stage since leaving the Chambers workshop and have been reading the Recreating the American Longrifle studying up for the brass patch box test. 


Tuesday, June 7, 2016

Building the Jim Chambers Lancaster Flintlock: Making a steady Rest

Not far into it I needed a good steady rest. I decided to go for something with some substance and easy adjustability, together with no cost.

Finally after 35 years that old Mercedes Benz V belt pulley came in handy, I pulled it from a 1972 4.5ltr when I worked at Wood Motors on Gratiot back in the 70's.

That as a base I fashioned some perf-tube, dropped in a 5/8-11 threaded rod, and made a cradle lined with leather to top it off.


Building the Jim Chambers Lancaster Flintlock: Straighten the Top line

The top line on the stock was wavy in the rough milling and so I had to come up with a way of stabilizing the stock without the barrel in it. I decided that the ram rod groove was the only reliable feature and so made a unique steady rest for just this one operation.

This allowed me to have support along the entire length.
All it took was a 3/8" dowel pined to a scrap plank.
It was hard to photo the wavy top edge.
Using my machinist straight edge and a dry erace marker I went thru the process.
Using my old body sander and a rasp I kept the material reduction to a minimum.


Tuesday, May 24, 2016

Building the Jim Chambers Lancaster Flintlock: @ the Workshop

Too much reading will get you interested in something or other, in this case I have read several of the Leather Stocking series, a Biography of D. Boone, and The Long Rifle by White.

Did my research regarding the American Long Rifle and settled on the top of the line Jim Chambers Lancaster. Partly because he offers a workshop too.


I am a devoted "workshop" person, I like to take one per year, and just a note you need to decide about a year in advance cause the good ones (no matter the subject) fill up as soon as they are offered.
I have already decided on next years WS.
The kit as purchased has all the metal bits, brass, steel, and fully assembled lock.

I have no experience with reproduction vintage rifles or rifle making however I have worked in all these materials and am confident I came make something passable.

Unlike the shoe making workshops we had a dozen participants and 3 instructors plus Jim. Someone from every walk of life, Doctors, Lawyers, Ranchers, Contractors, and (Me) an Artist.

Guns have always had an esthetic side and the Long rifle is no exception. The American Long Rifle is like Jazz and the Clipper ship; a true American invention. I won't give the history here but it is an excellent story of innovation worth a casual google.

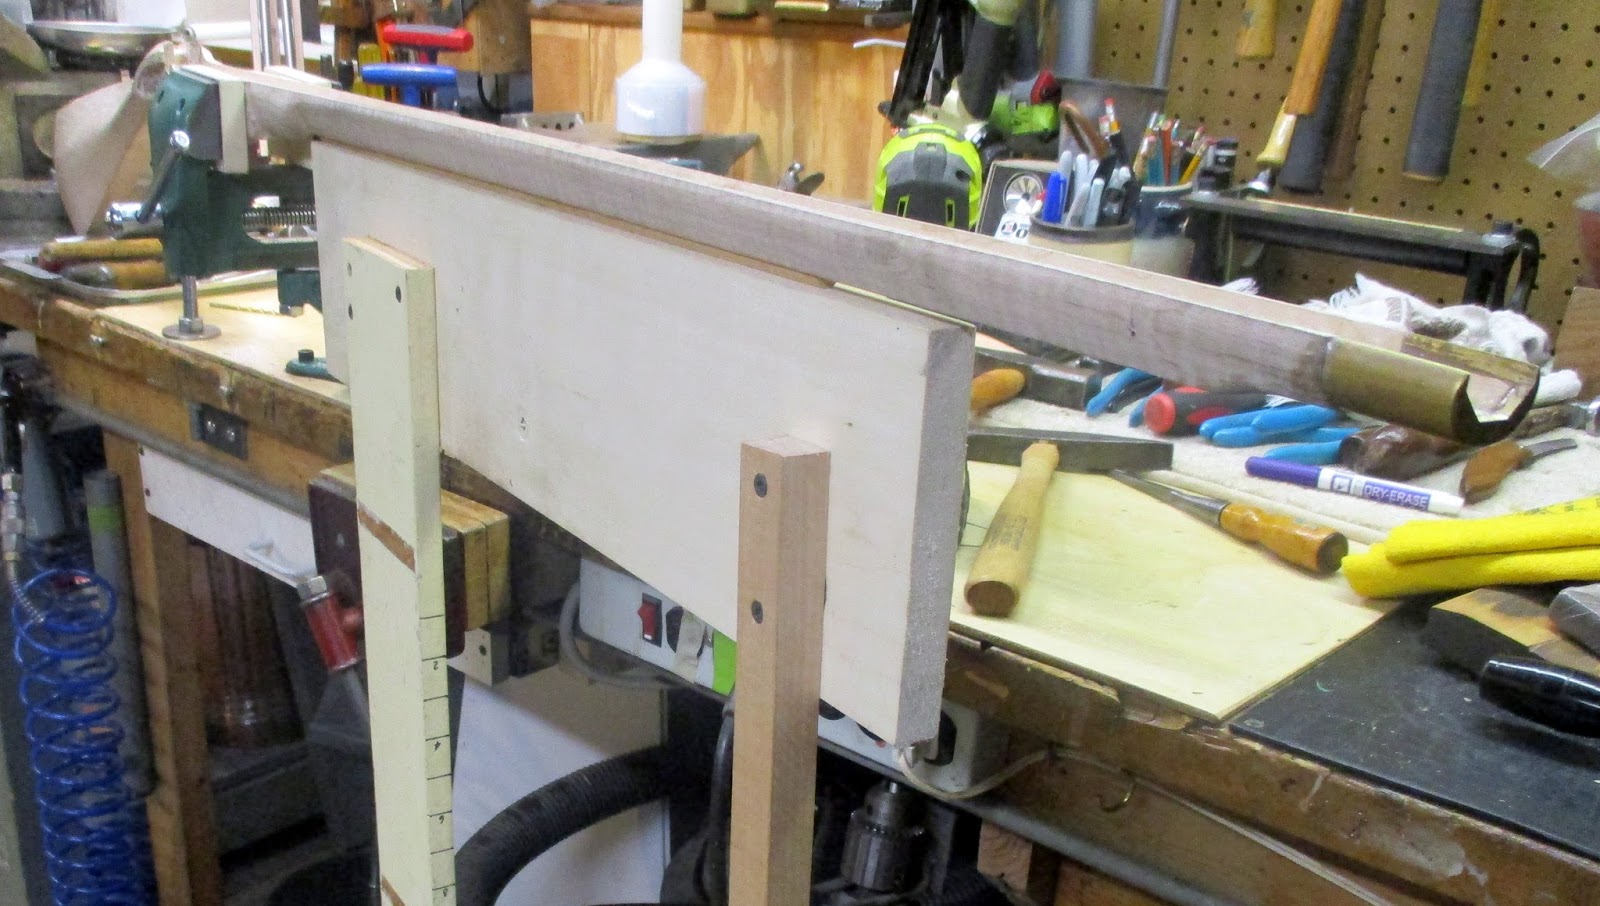
The stock is rough machined and since every inside corner is round by virtue of this process we begin by squaring the corners with our chisels.

We each had about 4 feet of bench space, a swivel vice, and lamp. I recommend buying the video and watching it before you get to the WS, I did not.
A 1st put it together test. The stock is machined with a large "clamp here" section at about the mid point.
After inletting the breech plug tang we fit 3 barrel tenons to the barrel and creating clearance notching for them, then each were drilled thru to accept a 1/16" pin.

The full length stock was mostly a style choice of the era; the wood in the forward area is so thin that it must be thought of as a cover or sheathing, it adds no structure to the rifle.
Steve and Luke, my new friends in the legal department.
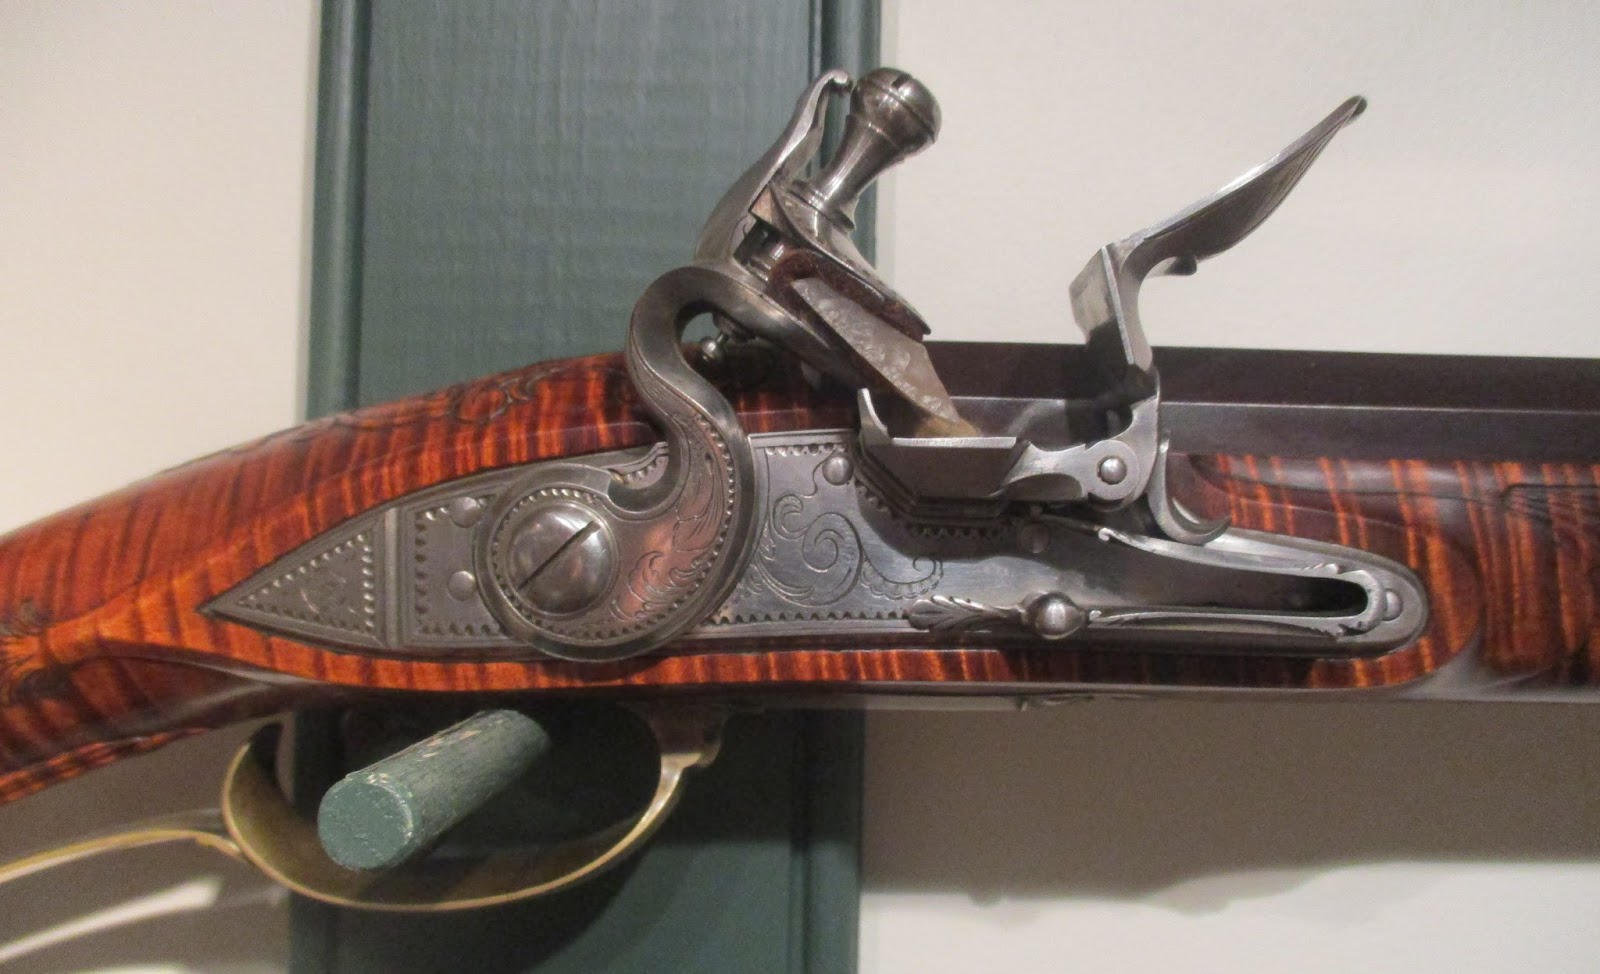
Fist disassembly of the lock was done by Master Jeff from Pennsylvania, after that I did it my self. A brilliant mechanism that includes a "half cock" safety position. The J. Chambers lock parts are all made by him, and his suppliers, every original "pattern" is hand made by Jim.
 First fit for the fully inlet lock plate, there are hours of tuning to get the "gap and flush" (automotive terms) correct.


We had access to a substantial "competitive analysis" department (automotive terms) these are just a few of the works on display. The level of detail and the number of options together with the "fineness" of construction was overwhelming.
Inletting the back-plate before drilling two holes.
Reassemble the lock, the main spring requires a clamp the compress, not sure what the spring-rate is the overall travel is about a 1/4" so it is a pretty high rate for its size. The lock is taken apart and put together many times.

To refine the Fit and Finish: "fit, chisel, scrape" "fit, chisel, scrape" "fit, chisel, scrape" "fit, chisel, scrape" as required.

Final assembly with all fasteners. "You don't need a workshop to learn how to use a chisel do you?" Well no but there are several things that would take while to figure out. The three screws that you see in this pic. are drilled "in-situ" freehand (with a hand drill.) There are some drill press operations but not these. Some important reasons for the workshop are the gaining of an understanding in what is expected and getting an understanding of what-is and is-not important.
When complete you have a cross hatching of long fasteners that clamp the stock between the upper and lower, and left and right metal parts.

Inletting the nose cap.
And that's where we ended the workshop.
A long way from complete.
_____________________________________________________________________________


Monday, March 7, 2016

1848 Stage Coach Wood Model Kit by Latina (Complete)

About 6 months from start to finish with plenty of breaks in between.
Although the kit was very motivational it was ultimately just a great jumping off point for me to figure out how I would make each part.

Easily 120 hours I have no real count and if I don't try to figure it out that will be OK.

I would like to donate it to a museum or municipality for display.

Again as a life long / career long transportation guy I am fascinated with "how we got to here from there" in terms of the engineering of the machine.


Model making is not unlike car design: in the words of one of my favorite bosses and a great Engineer, Robert J Holdreith "the automobile is a seething mass of compromise."

Body by Fisher; body or Coach work was and still is an art. Subtle curves, complex transitions, precise door gaps, all lead the customer to seeing and believing in the quality of the overall product.


The Coach builders that came together to invent this land yacht had a difficult set of product requirements and the engineering background they brought with them led to this unique out come.
The limitations of materials and machining technology made many decisions for them. Road conditions were a major influence.

In general I am certain that the "ride & handing" were the worst; if you were stuck inside of one of these things all day in anything but ideal weather conditions it would have been miserable!

Having said that there were no other alternatives for many people; women were not going to ride horses and many city folk would not have owned horses.

Without question the Westward expansion of the country was happening in any and every way possible, and this was just one way.


Friday, March 4, 2016

1848 Stage Coach Wood Model Kit by Latina (Trunk Compartment)

As with the Cockpit the Trunk compartment needed to be completely modular so every step in developing the parts was designed with that in mind.
I again made an aesthetic decision and designed the leather parts to show off (a little) the structure.
An alternative more like the real thing would not require any structure and could be just a box with leather coverings.


Without the Bonnet

Pattern for the Bonnet. I waited until the end to make this pattern because there were too many variables and it is pretty easy to do insitu.

Stand alone Trunk module. Patterns for the side panels were made and included the straps locations.

Pattern for the Trunk floor.